


How to connect Arduino to ESP8266 for networking function?

Global electronic component supplier AMPHEO PTY LTD: Rich inventory for one-stop shopping. Inquire easily, and receive fast, customized solutions and quotes.
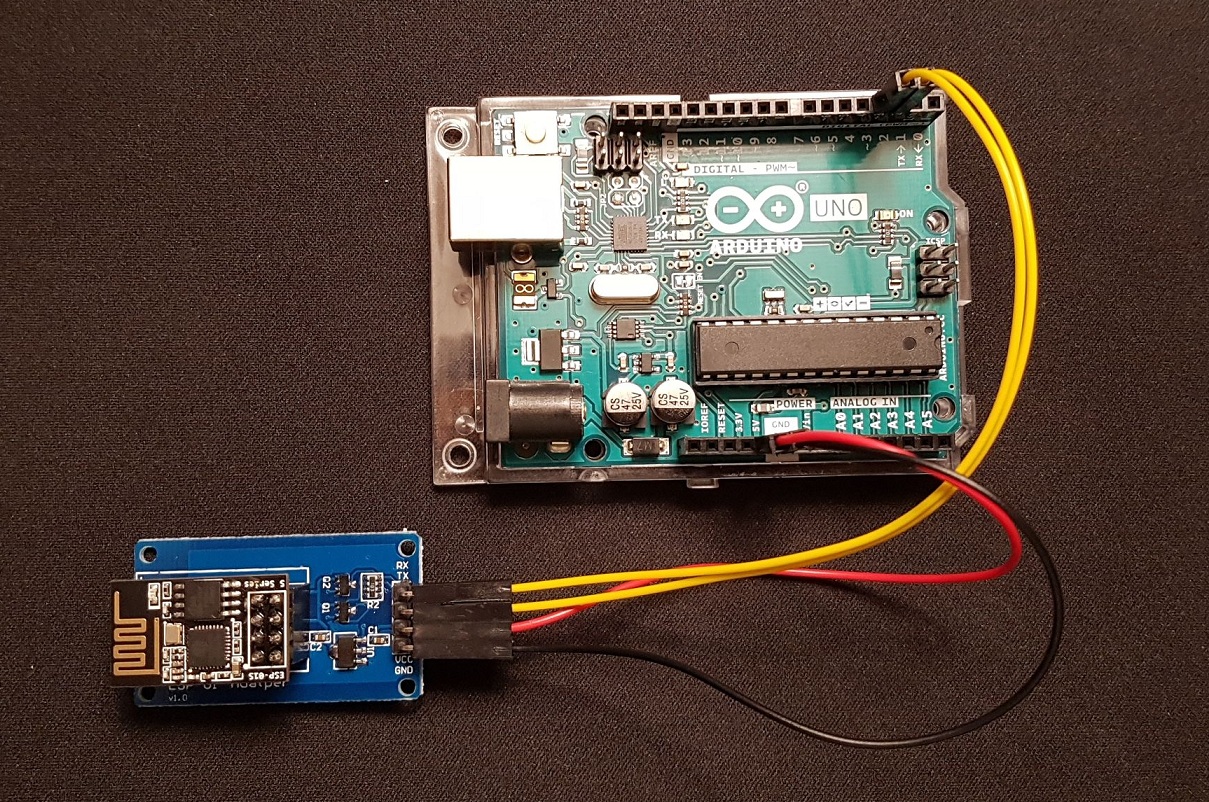
To connect an Arduino to an ESP8266 module for networking (such as sending data over Wi-Fi), you typically use UART serial communication. The ESP8266 acts as a Wi-Fi modem or module that the Arduino can control via AT commands or use via libraries like WiFiEsp or even ESP-AT firmware.
Common Components
-
Arduino UNO/Nano/MEGA
-
ESP8266 module (ESP-01 is common, or NodeMCU/ESP-12 variants)
-
Logic level shifter or voltage divider (ESP8266 is 3.3V)
-
3.3V power supply (for ESP8266)
-
Wires / breadboard
Wiring ESP8266 to Arduino (ESP-01 Example)
| ESP8266 Pin | Arduino UNO Pin | Notes |
|---|---|---|
| VCC | 3.3V (external or from regulator) | Do not use Arduino's 3.3V — not enough current |
| GND | GND | Ground connection |
| TX | Arduino RX (via voltage divider) | 3.3V safe voltage |
| RX | Arduino TX (via voltage divider) | ESP8266 RX is 3.3V tolerant only |
| CH_PD | 3.3V | Enable the chip |
| RST | Leave unconnected or pull-up |
Tip: Use a voltage divider on Arduino TX → ESP RX like:
-
1 kΩ from Arduino TX
-
2 kΩ from TX to GND
This divides 5V down to ~3.3V safely.
Software Setup (AT Command Method)
-
Upload "bare minimum" sketch to Arduino to release Serial:
-
Use Serial Monitor or software like PuTTY or Arduino Serial Monitor with AT commands to test the module.
-
Example AT commands:
Alternative: Use SoftwareSerial on Arduino
If you want to use Serial Monitor and ESP8266 together:
More Advanced: Use ESP8266 as the Main Controller
-
If using NodeMCU or ESP-12, you can program it directly with Arduino IDE using the ESP8266 core.
-
This removes the need for an Arduino completely and gives full Wi-Fi + microcontroller in one.
Summary
| Option | Use Case |
|---|---|
| AT Command Mode | Arduino controls ESP via UART |
| WiFiEsp Library | Arduino uses ESP as modem (like Ethernet) |
| Direct programming | Use ESP8266 as main MCU with Arduino IDE |
Related Articles
- ·What are the differences between various Arduino boards?
- ·How to achieve serial communication between STM32 and ESP8266?
- ·DS18B20 Temperature Sensor Detailed Explanation and Use Cases
- ·ESP32 vs Arduino, Compare their differences and use cases
- ·Which Arduino Board is Best for Beginners?
- ·The Complete Guide to Component Selection for Electronic Design
- ·How many programming methods are there for the STM32G431RBT6 microcontroller?
- ·Design and Implementation of a Smart Home System Based on STM32
- ·Design of solar automatic light tracking system