


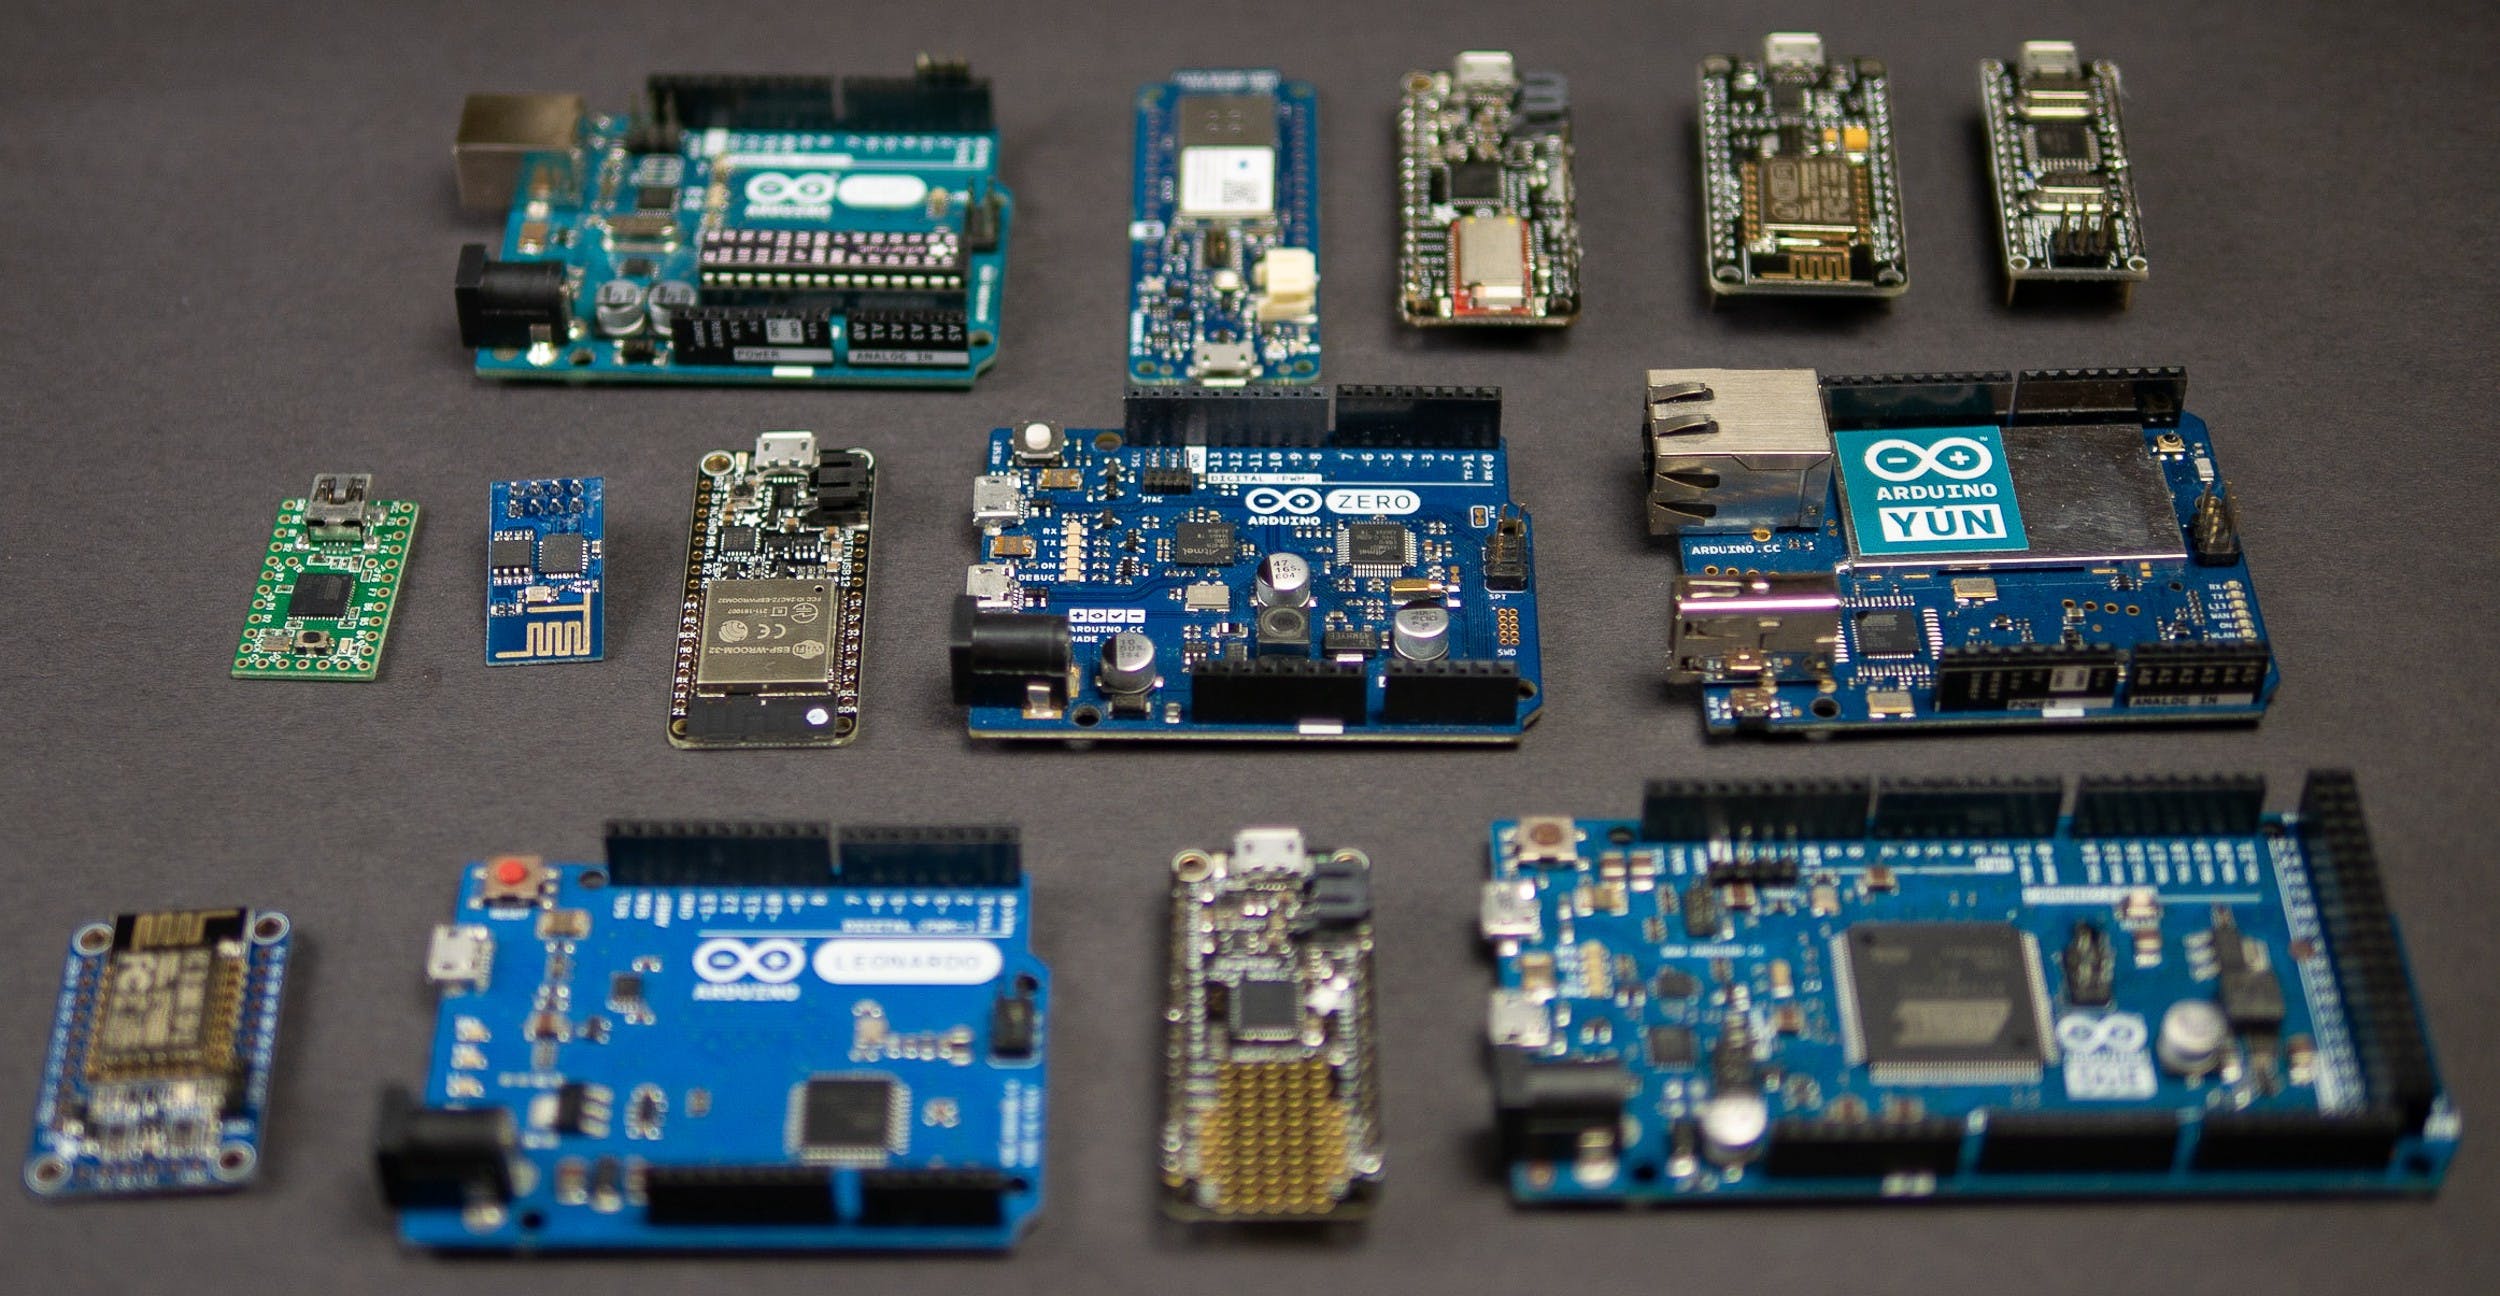
Which Arduino Board is Best for Beginners?

Global electronic component supplier AMPHEO PTY LTD: Rich inventory for one-stop shopping. Inquire easily, and receive fast, customized solutions and quotes.
If you're just starting with Arduino, the best board for beginners is the Arduino Uno R3. Here’s why:
1. Arduino Uno R3 – Best for Beginners
✅ Why Choose It?
-
Simple to use: Plug-and-play via USB.
-
Widely supported: Most tutorials, libraries, and shields are designed for it.
-
Sturdy design: Durable for prototyping.
-
Enough I/O pins: 14 digital, 6 analog, and 6 PWM pins.
-
Easy troubleshooting: Built-in LEDs for power and serial communication.
⚠️ Limitations:
-
Not the cheapest (~20−25 original, cheaper clones available).
-
Larger than Nano (but easier to handle for beginners).
🔹 Best for: Learning basics, simple projects (LEDs, sensors, motors).
2. Arduino Nano – Best for Compact Projects
✅ Why Choose It?
-
Small & breadboard-friendly (great for permanent projects).
-
Same functionality as Uno (but smaller).
-
Cheaper (clones cost ~5−10).
⚠️ Limitations:
-
No built-in DC barrel jack (power via USB or 5V pin).
-
Slightly harder to plug/unplug (no full-size USB).
🔹 Best for: Small robots, wearables, and breadboard circuits.
3. Arduino Mega 2560 – Best for Big Projects
✅ Why Choose It?
-
More I/O pins (54 digital, 16 analog).
-
Great for complex projects (3D printers, CNC machines).
⚠️ Limitations:
-
Overkill for beginners.
-
Larger and pricier (~35−50).
🔹 Best for: Advanced users needing extra pins.
4. Arduino Pro Mini – Best for Low-Cost & Tiny Builds
✅ Why Choose It?
-
Super small & lightweight.
-
Very cheap (~3−10 for clones).
⚠️ Limitations:
-
No USB (requires a separate FTDI programmer).
-
Not beginner-friendly.
🔹 Best for: Final projects where size matters.
5. Arduino Starter Kit Recommendation
If you want a complete beginner package, get:
-
Official Arduino Starter Kit (~$90)
-
Includes Uno R3, sensors, LEDs, tutorials.
-
-
ELEGOO Uno Kit (~$40, cheaper alternative).
Final Verdict: Best Arduino for Beginners
| Board | Ease of Use | Price | Best For |
|---|---|---|---|
| Uno R3 | ⭐⭐⭐⭐⭐ | $$ | Absolute beginners |
| Nano | ⭐⭐⭐⭐ | $ | Compact projects |
| Mega 2560 | ⭐⭐ | $$$ | Advanced users |
| Pro Mini | ⭐ | $ | Ultra-small builds |
Start with the Uno R3 → Upgrade to Nano/Mega later.
Here are 5 beginner-friendly Arduino Uno R3 projects to get you started, complete with components, wiring, and code examples:
1. Blinking LED (The "Hello World" of Arduino)
🛠 Components Needed:
-
LED
-
220Ω resistor
-
Breadboard & jumper wires
🔌 Wiring:
-
LED (+) → Arduino D13 (via resistor)
-
LED (–) → GND
💻 Code:
void setup() {
  pinMode(13, OUTPUT); // Set D13 as output
}

void loop() {
  digitalWrite(13, HIGH); // LED ON
  delay(1000);            // Wait 1 sec
  digitalWrite(13, LOW);  // LED OFF
  delay(1000);            // Wait 1 sec
}
🎯 Learn: Basic I/O, delay(), and digitalWrite().
2. Pushbutton LED Control
🛠 Components Needed:
-
Arduino Uno
-
LED
-
Pushbutton
-
220Ω resistor (LED)
-
10kΩ resistor (pull-down for button)
🔌 Wiring:
-
Button → D2 (with 10kΩ to GND)
-
LED → D13 (with 220Ω resistor)
💻 Code:
void setup() {
  pinMode(2, INPUT);  // Button input
  pinMode(13, OUTPUT); // LED output
}

void loop() {
  if (digitalRead(2) == HIGH) { // If button pressed
    digitalWrite(13, HIGH);     // Turn LED ON
  } else {
    digitalWrite(13, LOW);      // Turn LED OFF
  }
}
🎯 Learn: Digital input (digitalRead()), pull-down resistors.
3. Temperature & Humidity Sensor (DHT11)
🛠 Components Needed:
-
Arduino Uno
-
DHT11 sensor
-
4.7kΩ resistor (pull-up)
-
Breadboard
🔌 Wiring:
-
DHT11 VCC → 5V
-
DHT11 DATA → D2 (with pull-up resistor)
-
DHT11 GND → GND
💻 Code (Install "DHT Sensor Library" first):
#include <DHT.h>
#define DHTPIN 2
#define DHTTYPE DHT11

DHT dht(DHTPIN, DHTTYPE);

void setup() {
  Serial.begin(9600);
  dht.begin();
}

void loop() {
  float temp = dht.readTemperature(); // °C
  float hum = dht.readHumidity();     // %
  Serial.print("Temp: "); Serial.print(temp);
  Serial.print("°C | Hum: "); Serial.print(hum); Serial.println("%");
  delay(2000);
}
🎯 Learn: Sensor interfacing, libraries, serial monitoring.
4. Servo Motor Control
🛠 Components Needed:
-
Arduino Uno
-
Servo motor (e.g., SG90)
-
Potentiometer (10kΩ)
🔌 Wiring:
-
Servo VCC → 5V
-
Servo GND → GND
-
Servo SIG → D9
-
Potentiometer → A0
💻 Code:
#include <Servo.h>
Servo myservo;

void setup() {
  myservo.attach(9); // Servo on D9
}

void loop() {
  int angle = analogRead(A0);            // Read potentiometer
  angle = map(angle, 0, 1023, 0, 180);  // Convert to 0-180°
  myservo.write(angle);                  // Move servo
  delay(15);
}
🎯 Learn: PWM, servo motors, map() function.
5. LCD Display (16x2 with I2C)
🛠 Components Needed:
-
Arduino Uno
-
I2C LCD (16x2)
-
4x jumper wires
🔌 Wiring:
-
LCD GND → GND
-
LCD VCC → 5V
-
LCD SDA → A4
-
LCD SCL → A5
💻 Code (Install "LiquidCrystal_I2C" Library):
#include <Wire.h>
#include <LiquidCrystal_I2C.h>

LiquidCrystal_I2C lcd(0x27, 16, 2); // Address 0x27

void setup() {
  lcd.init();
  lcd.backlight();
  lcd.print("Hello, Arduino!");
}

void loop() {
  lcd.setCursor(0, 1);
  lcd.print("Millis: ");
  lcd.print(millis() / 1000);
}
🎯 Learn: I2C communication, LCD text display.
Next Steps?
-
Get a starter kit (like ELEGOO Uno Kit).
-
Try tutorials on Arduino’s official site.
-
Experiment by combining sensors (e.g., DHT11 + LCD).
Want a challenge? Try building a smart plant monitor (soil sensor + LCD + pump)!
Related Articles
- ·What are the differences between various Arduino boards?
- ·DS18B20 Temperature Sensor Detailed Explanation and Use Cases
- ·ESP32 vs Arduino, Compare their differences and use cases
- ·The Complete Guide to Component Selection for Electronic Design
- ·How many programming methods are there for the STM32G431RBT6 microcontroller?
- ·Design of solar automatic light tracking system
- ·How many types of Arduino development boards are there? How to choose?
- ·Implementing AI and machine learning on low-power MCUs
- ·Design of Intelligent Fire Alarm System Based on Single Chip Microcomputer