


How to boot Linux on a Xilinx FPGA?

Global electronic component supplier AMPHEO PTY LTD: Rich inventory for one-stop shopping. Inquire easily, and receive fast, customized solutions and quotes.
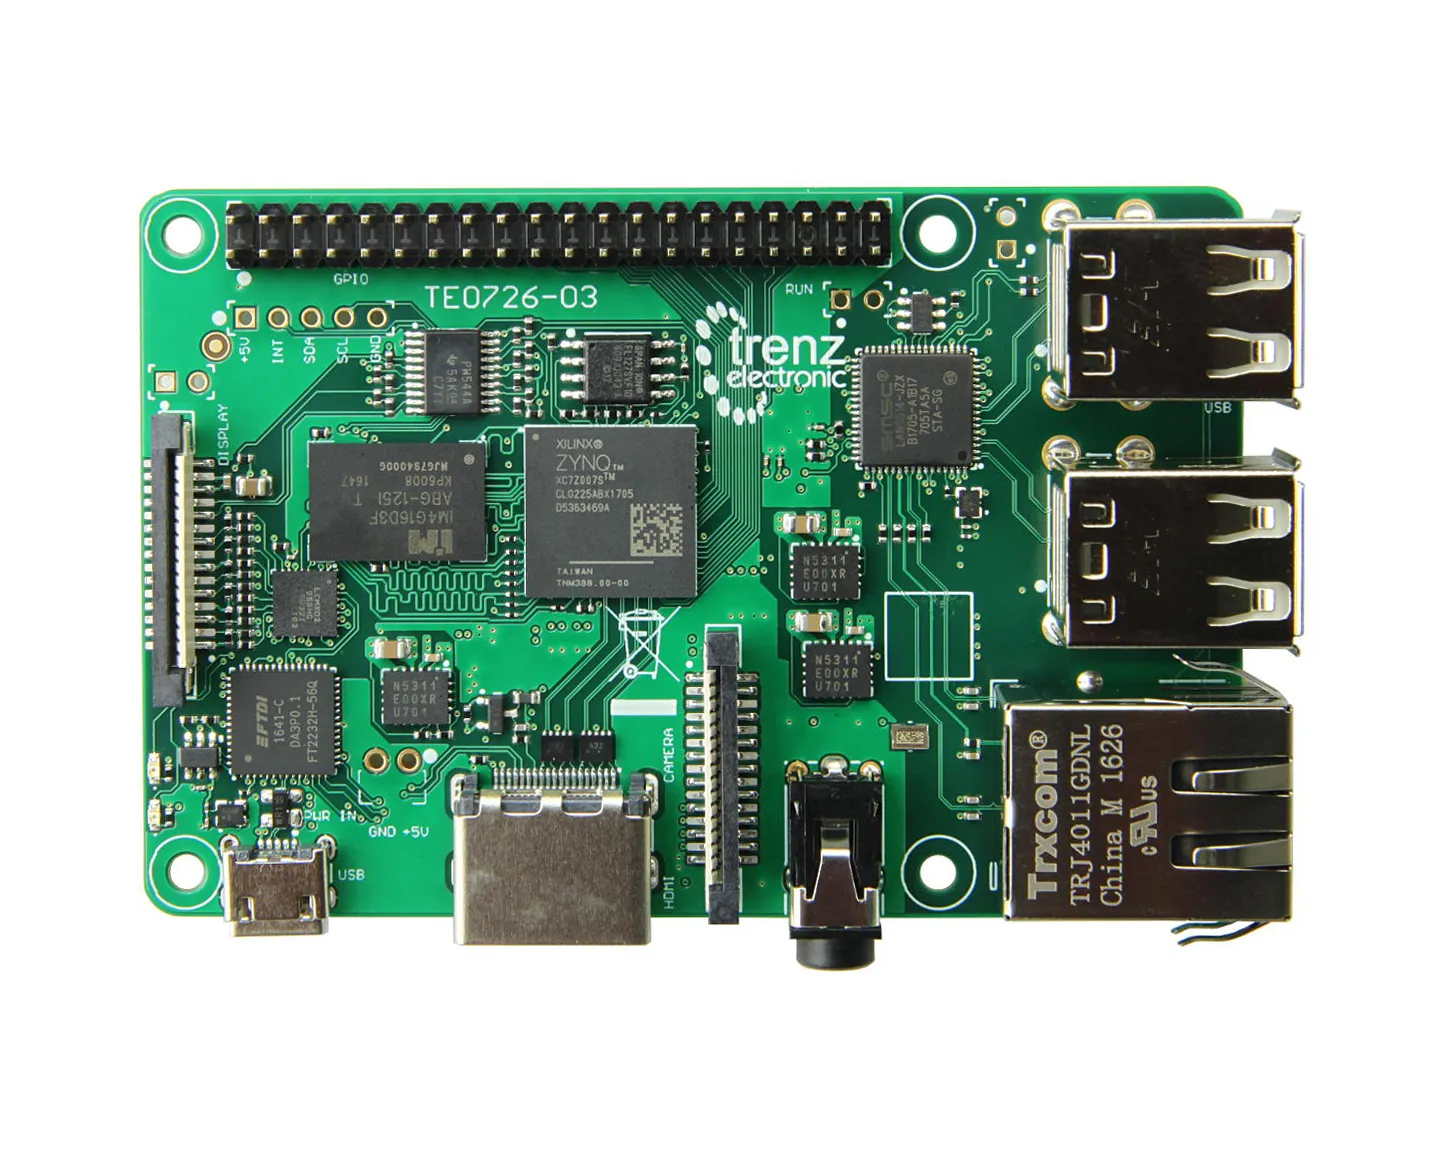
Booting Linux on a Xilinx FPGA involves using a SoC-based FPGA platform like the Zynq-7000 or Versal, which integrates both programmable logic (PL) and a processor system (PS, typically ARM Cortex-A9/A53). Here's a step-by-step overview:
Booting Linux on a Xilinx FPGA (e.g., Zynq-7000)
1. Use the Right Hardware
You need a Zynq-based FPGA development board, such as:
-
ZedBoard
-
PYNQ-Z1/Z2
-
ZCU102 (for Zynq UltraScale+)
-
Ultra96
These boards contain:
-
ARM processor (PS) to run Linux
-
Programmable logic (PL) for custom hardware
2. Toolchain Setup
Install:
-
Xilinx Vitis / Vivado (design and build hardware)
-
PetaLinux (builds Linux OS for Xilinx hardware)
-
Serial terminal (e.g., PuTTY, minicom)
3. Build the Hardware Design (Vivado)
Design your Zynq processing system in Vivado:
-
Open Vivado → Create Block Design
-
Add ZYNQ7 Processing System
-
Run Block Automation
-
Optionally add custom IP blocks (e.g., GPIO, AXI)
-
Generate bitstream
Export the design:
4. Create a PetaLinux Project
Customize kernel, device tree, and rootfs:
5. Build the Linux Image
This generates:
-
BOOT.BIN(bootloader + FPGA bitstream + FSBL) -
image.ub(kernel + device tree + rootfs) -
boot.scr(U-Boot script)
6. Prepare SD Card
Format an SD card with FAT32 and copy:
-
BOOT.BIN -
image.ub -
Optionally:
boot.scr
Insert into the Zynq board’s SD slot.
7. Connect and Boot
-
Open serial terminal (115200 baud)
-
Power on board
-
You’ll see U-Boot, then Linux booting on the serial console
You should see a Linux prompt like:
Optional: Use Prebuilt Linux (PYNQ)
Boards like PYNQ-Z1 can boot Linux using the official PYNQ image:
-
Download
.img -
Flash to SD card
-
Boot into Linux with Jupyter, Python, and hardware libraries
Summary of Required Files
| File | Description |
|---|---|
BOOT.BIN |
FSBL + Bitstream + U-Boot (first-stage) |
image.ub |
Kernel + Device Tree + Root Filesystem |
boot.scr |
U-Boot script (optional, for automation) |
Bonus: What Happens During Boot?
-
FSBL (First Stage Boot Loader): Sets up clocks, loads bitstream
-
U-Boot: Loads and runs Linux kernel
-
Kernel: Initializes drivers, mounts rootfs
-
Linux Shell: User interface (via UART or network)
Related Articles
- ·Is FPGA chip suitable for algorithm development?
- ·The best MCUs/MPUs for industrial humanoid robots
- ·What are the differences between FPGA and DSP processors for signal processing?
- ·How to become an FPGA engineer? Which FPGA board and program are suitable for beginners?
- ·How to Generate Low Clock Frequencies in FPGA?
- ·How to Use DDR Memory with FPGA for DSP Application?
- ·Application of Embedded Systems in Aerospace and Defense Fields
- ·Comparison of FPGA, ARM, STM32, and DSP Platforms
- ·Comparison of FPGA, CPLD, PLC, Microprocessor, Microcontroller & DSP